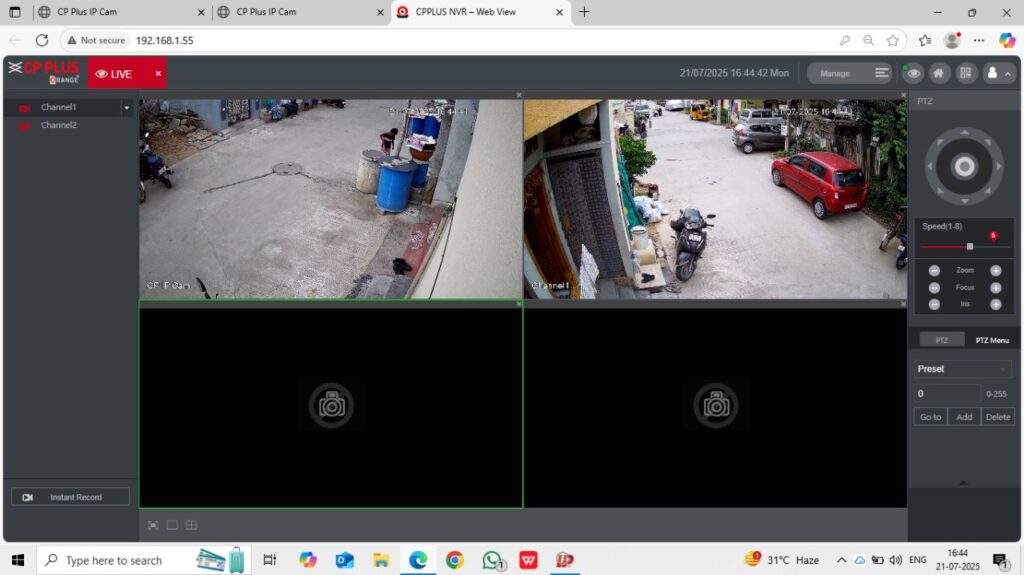
Home security is no longer a luxury—it’s a necessity. With rising concerns about safety, more and more homeowners are installing CCTV cameras to protect their families and properties. The good news? You don’t need to be a tech expert to get started. This Beginner’s Guide to CCTV Installation will walk you through the easy steps to set up your home security system.
Why Install CCTV at Home?
Before diving into the steps, here’s why installing a CCTV system is a smart move:
- Deters theft and trespassing
- Monitors activity around your home
- Keeps an eye on deliveries or domestic help
- Provides valuable evidence in case of an incident
Now, let’s get started!
Step 1: Choose the Right CCTV Camera
There are various types of cameras available. Consider the following:
- Dome Cameras – Ideal for indoor use; discreet and stylish.
- Bullet Cameras – Best for outdoor coverage; long-range vision.
- PTZ Cameras – Pan, tilt, and zoom for full control of the viewing angle.
- Wireless Cameras – Easy to install with fewer wires.
📌 Tip: For beginners, dome or wireless cameras are easiest to install and manage.
Step 2: Identify Key Locations
Walk around your house and decide where you want to place the cameras. Focus on:
- Main entrance
- Back door
- Driveway or parking area
- Living room or hallway
- Staircase or balconies
Avoid placing cameras where they might invade someone’s privacy, like bathrooms or bedrooms.

Step 3: Gather Your Equipment
To install your CCTV, you’ll need:
- Cameras (wired or wireless)
- DVR/NVR (if applicable)
- Monitor or smartphone for viewing
- Cables and connectors (for wired setups)
- Power supply
- Drill and mounting tools
Step 4: Install the Cameras
- Mark the mounting points with a pencil.
- Drill holes and fix the camera bracket.
- Mount the camera and adjust the angle.
- Connect the camera to the power supply.
- For wired setups, run the cables to your DVR.
📌 Tip: Mount cameras at a height of at least 8–10 feet to avoid tampering.
Step 5: Set Up the Recording System
- Connect your DVR/NVR to the cameras and monitor.
- Configure recording settings (motion detection, scheduled recording, etc.).
- Use a hard drive to store the footage.
- Most systems come with easy setup wizards—just follow the on-screen instructions.
Step 6: Remote Viewing Setup
If your system supports it, enable remote viewing through an app:
- Download the app recommended by your CCTV brand.
- Scan the QR code from your DVR/NVR.
- Register your account and view live footage from your phone anytime, anywhere.
Step 7: Test Your System
Before wrapping up:
- Check camera angles and adjust as needed.
- Test night vision, motion detection, and mobile access.
- Ensure all cameras are recording properly.
Final Thoughts
Installing CCTV at home may seem complex at first, but with the right steps and a little patience, you can easily secure your home without professional help. Whether you live in a flat, bungalow, or gated community, a well-placed CCTV system brings peace of mind and an added layer of safety.